Video Streaming
Vega OS: Native app vs WebView integration
December 15, 2025
In the evolving landscape of connected TVs, Vega OS has emerged as Amazon’s next-generation operating system. Powering Fire TV, smart TVs, and operator-grade devices around the world, it delivers consistent performance, unified system services, and a modern app runtime designed for rich, immersive living-room experiences.
At the heart of this platform is the Vega App Framework, Amazon’s new foundation for building native TV apps. Based on React Native, it lets developers create smooth, hardware-accelerated interfaces that integrate tightly with the OS, offering deep access to system-level features like media playback, voice control, and analytics.
When bringing an application to Vega, developers generally choose among three main paths:
- Build a native Vega (Kepler) app from scratch
This is the clean-slate approach: use the Vega SDK and React Native components to create a fully native, fully optimized Vega experience. - Run an existing Lightning or web-based TV app inside a Vega WebView
Ideal for teams with an established HTML5, Canvas, Lightning, or ReactTV app. With minimal adjustments, these applications can run inside a Vega WebView, while progressively integrating Vega APIs through a JavaScript bridge. - Use Amazon Cloud App Streaming to run an existing Android TV app
This option streams the Android app from a cloud container to Vega devices. It offers broad compatibility without rewriting code, though it limits local integration and direct control over performance. Amazon also calls this is available for select apps only.
For many teams, this is a strategic decision. If you’ve already built a mature web app—perhaps using Lightning, React Native, or another HTML/Canvas framework—you’ve likely invested years in tuning its performance, navigation, and rendering. Rebuilding it natively can seem daunting. Thankfully, Vega offers a hybrid bridge: you can host your existing app inside a Vega WebView container, connect it to Vega APIs, and gradually adopt native features over time.
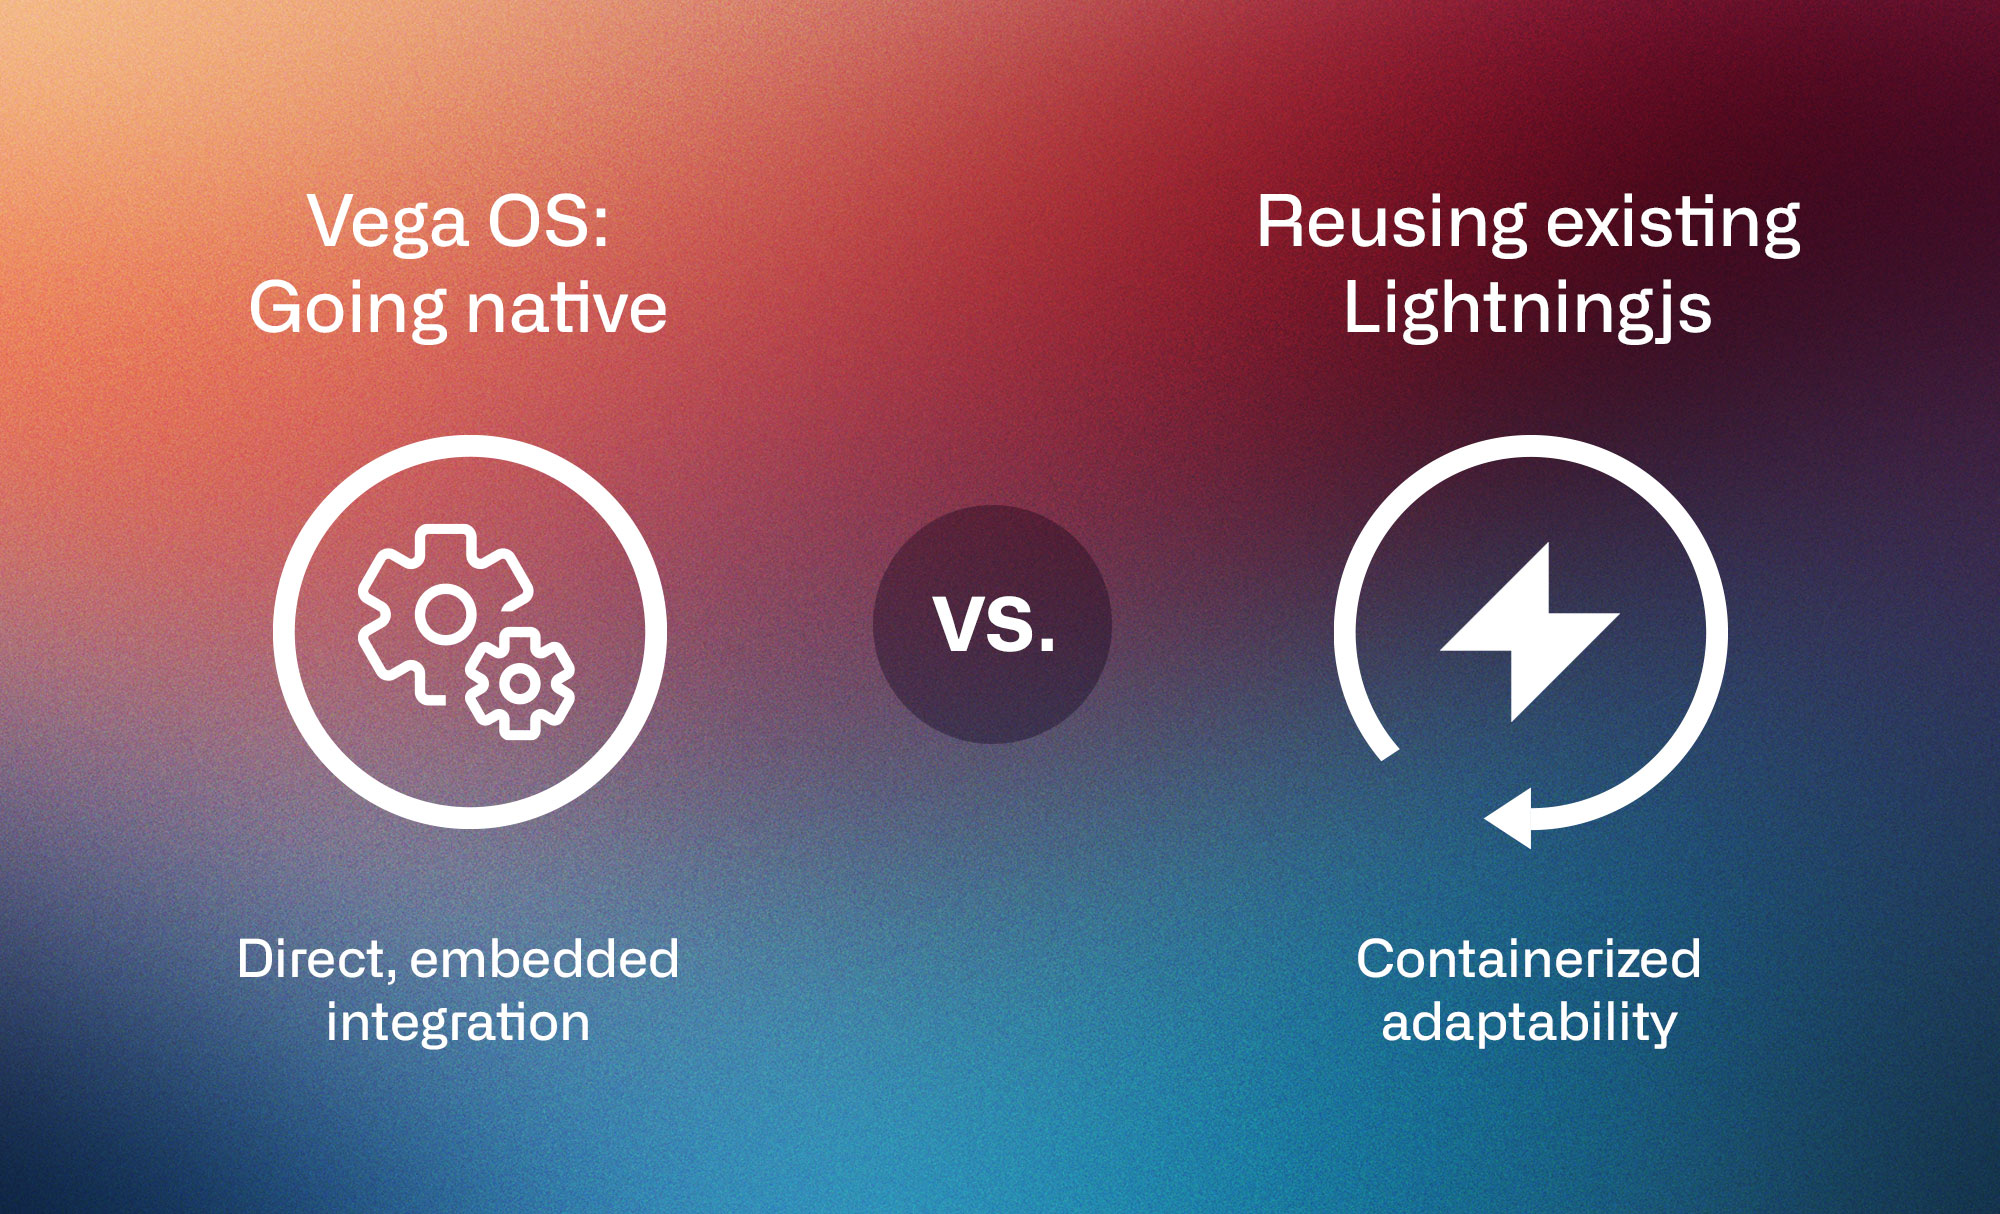
This article explores the trade-offs between building natively and reusing an existing web app. We’ll cover:
- What makes native Vega apps powerful, performant, and future-ready.
- How a Vega WebView can run your existing Lightning or HTML app with minimal adjustments.
- The real-world trade-offs in performance, developer experience, and system integration.
- A practical walkthrough showing how to load a Lightning app within a Vega WebView.
By the end, you’ll have a clear understanding of when to go fully native, and when wrapping your existing app might be the right move for speed and maintainability.
Fast-track with Shubi.
If you are looking to significantly reduce time to market while retaining full control of your roadmap, Shubi by REDspace offers a powerful head start. Shubi is a flexible streaming application framework designed to launch, modernize, and grow streaming products across every device.
Crucially for this guide, Shubi apps are built to be highly performant and are often deployed using high-speed web technologies like Lightning JS. This makes Shubi a perfect candidate for the Vega WebView approach. Instead of rebuilding for Vega from scratch, a Shubi-based app can be wrapped and deployed to Vega devices immediately, leveraging the hybrid architecture described in this article to combine web speed with native OS integration.
With Shubi, you own 100% of your code—no SaaS lock-ins—allowing you to launch on Vega in weeks rather than months, all while maintaining a single, unified codebase across Fire TV, Android TV, and Apple TV.
Learn more at redspace.com/shubi
Before choosing between a “native” (Vega SDK/React Native) or WebView-based approach, it’s important to understand what the Vega App Framework actually is, and how it fits into the broader Vega OS ecosystem.
What is Vega?
Vega is Amazon’s next-generation TV operating system, a unified platform that blends the best of Fire OS with new system services designed for scalability, security, and developer agility. Unlike older environments that relied heavily on generic web runtimes, Vega emphasizes native performance, modern UI pipelines, and tight integration with hardware and system APIs.
The Vega App Framework builds on this foundation. It provides a React Native–based layer for developers to create living-room apps using familiar JavaScript and JSX, while still accessing native capabilities through the Vega bridge. This makes it possible to write once, yet deploy apps that feel truly native to the TV experience.
Core architecture
A Vega app runs inside a React Native runtime, customized for Vega OS. It communicates directly with system services, such as voice control, navigation, playback, and system telemetry, without the overhead of a browser.
At a high level, a Vega app consists of:
- JS runtime – Executes the app’s React Native logic and business code.
- JSI (JavaScript Interface) – Connects JavaScript code to Vega’s C++-based system services (TurboModules in Vega).
- Render layer – Uses the GPU-accelerated Vega compositor to draw the UI efficiently on the TV screen.
- System modules – Expose APIs for media control, remote input, and lifecycle events.
This architecture ensures smoother animations, faster start times, and direct access to hardware layers — advantages that are often limited or unavailable in web-based apps.
The role of the Vega WebView.
Even with its native-first design, Vega recognizes that many developers already have mature, production-grade codebases, often built with Lightning, ReactTV, or other HTML5 frameworks. To support these, Vega includes a WebView component.
The Vega WebView allows developers to embed a full HTML5 app inside a Vega container, giving it access to selected Vega APIs via a JavaScript bridge. This makes it possible to run an existing Lightning app with minimal modification while still benefiting from Vega’s packaging, navigation, and lifecycle management.
This enables scenarios such as:
- Triggering navigation or media playback from the native side.
- Sending app state updates from the WebView to React Native.
- Integrating with Vega system services like analytics, voice commands, or player events.
Communication between React Native for Vega and the WebView follows a simple pattern:
React Native → Web
API: injectJavaScript()
Direction: Executes JavaScript code inside the WebView context. Useful for sending commands, updating UI state, or triggering custom events in your web app.
Web → React Native
API: onMessage prop
Direction: Used by the WebView to send messages back to the native layer via window.ReactNativeWebView.postMessage(data) in the web code.
This bi-directional messaging allows developers to synchronize behavior between the two runtimes, effectively making the WebView a first-class citizen within the Vega app.
Importantly, the Vega WebView is not “just a browser.” It supports hardware acceleration through WebGL, meaning graphics-intensive apps like Lightning can still leverage the GPU for smooth rendering, transitions, and animations. This allows teams to preserve much of their original performance while running within a managed Vega environment.
Developer experience
For developers familiar with React Native, building a Vega app feels natural, using hooks, state management, and native UI components. For web developers, Vega WebView offers an incremental path: you can migrate gradually, integrating native features such as voice commands or media controls without rewriting your entire interface.
The key takeaway: Vega is not an either-or proposition. It’s a flexible continuum, one that supports both fully native apps and hybrid WebView experiences, allowing teams to evolve at their own pace without sacrificing performance or reusability.
02. Example: Reusing a Lightning App in a Vega WebView
This section walks through how to wrap a Lightning app in Vega and establish full two-way communication between the native Vega layer and the web runtime.
Embedding the Lightning App in Vega
The following component sets up a Vega WebView, handles errors gracefully, and establishes the communication bridge.
Key properties:
- hasTVPreferredFocus: Gives this WebView focus priority on Vega TV devices.
- allowSystemKeyEvents: Enables DPAD/remote navigation to pass through to the web layer.
- allowsDefaultMediaControl: Enables/disables default Media Controls for WebView playback.
- onError: Triggered if the app fails to load — sets the isError flag to display a native error screen.
Note: While allowSystemKeyEvents enables D-Pad navigation, it may also capture the Back button. You should implement React Native’s BackHandler to determine whether to navigate back within the WebView history or exit the app.
Pro Tip: Use Local Bundling for production releases. Loading your app from a local file:// URI (bundled within the APK) instead of a remote URL prevents white screens on slow connections and significantly improves app launch time.
Vega manifest.toml overview
The manifest.toml file defines your app’s identity, how it launches, and what Vega OS services it can use. It acts as your app’s capability declaration and must be included in every Vega package.
Keep your manifest minimal and consistent with your app’s actual runtime dependencies. Use WebView + Input for HTML or Lightning apps, add Media + Audio + DRM for native video playback with VegaMediaControl, and always include UCC Publisher for accessibility compliance.
D-pad and input Control.
When running a Lightning app inside a Vega WebView, DPAD input is automatically forwarded to the web context if the WebView has allowSystemKeyEvents=true. This flag ensures that remote-control events are passed down to the Lightning runtime rather than being consumed by the Vega shell.
For Lightning-based apps, it makes the most sense to handle all DPAD input directly within Lightning. The Lightning framework already manages focus trees, key routing, and transitions internally, so duplicating DPAD logic in Vega or React Native layers can lead to conflicts.
On Vega, Up/Down/Left/Right/Select are typically delivered and handled without extra work inside a Lightning app. However, media transport keys (Play/Pause, Fast-Forward, Rewind, and Back) often require explicit handling in Lightning. This is easily done by mapping to the correct key code (for example Back = KeyCode 27).
When building a Lightning JS app running inside a WebView on Amazon Vega, managing video playback requires bridging the gap between your JavaScript environment and the device’s native media control system. This is where VegaMediaControl (VMC) and the allowDefaultMediaControl setting work together to define how your app interacts with Alexa, system remotes, and non-D-pad controls.
The allowDefaultMediaControl flag in your Vega manifest defines who controls the media session — the system or your app:
——
Setting
allowDefaultMediaControl = true
Behavior
The Vega system automatically manages playback using its default player. Alexa and remotes will interact with the system, not necessarily your WebView video element.
——
Setting
allowDefaultMediaControl = false
Behavior
The app takes full control of playback by integrating directly with VegaMediaControl through the bridge. All commands (from Alexa, remotes, or touch input) flow through your logic.
——
Using VegaMediaControl through your JS bridge while allowDefaultMediaControl is set to false gives you:
- Alexa integration: Your app’s player is recognized as the active session, allowing seamless voice commands.
- Unified non-D-pad control: Touch, mobile companion apps, or voice remotes all feed through VMC, not hardcoded D-pad logic.
- Consistent Lightning UI: Playback state, buffering, and seek positions stay synchronized between the UI and the system.
- Future compatibility: As Vega evolves, your bridge automatically inherits support for new input modalities and media features.
For example, when the user says “Alexa, rewind 10 seconds”, here’s what happens:
- Alexa sends the command to Vega’s native media system.
- Vega forwards it to your registered VegaMediaControl session.
- The JS bridge relays the event into your Lightning app.
- Your Lightning JS video component performs the seek and updates its UI.
This flow keeps voice, system, and UI perfectly aligned, without relying on traditional D-pad navigation.
Accessibility
Accessibility on Amazon Vega devices is handled primarily at the system level, through the Vega Accessibility Framework, responsible for features like screen readers, voice guidance, focus highlighting, and spoken feedback. However, Lightning JS runs inside a WebView sandbox, which means it does not automatically participate in Vega’s accessibility tree.
To bridge this gap, accessibility events and semantics must be passed manually through the JavaScript bridge, allowing your Lightning app to expose UI state and actions to Vega’s accessibility layer.
03. Migration strategy: Gradual migration to native
For teams with mature Lightning JS apps, the most practical path to a full Vega implementation is progressive migration. Instead of rebuilding everything at once, migrate one screen or feature at a time, gradually replacing Lightning views and services with native Vega components.
The process generally follows three stages:
Embed and stabilize
Start by running your existing Lightning JS app inside a Vega WebView. Enable allowSystemKeyEvents = true so DPAD and system input are passed through, and set up message passing with onMessage and injectJavaScript. At this point, all navigation, layout, and playback are still handled by Lightning. The goal is simply to achieve functional parity inside Vega.
Pro Tip: Local Bundling for Production
While loading your app from a remote URL is great for development, production apps should bundle HTML/JS assets locally (e.g., in the app’s asset folder) and load them via a file:// URI. This eliminates network dependency during startup, preventing white screens on flaky connections and significantly improving launch performance.
Replace feature-level components
Identify high-impact screens or modules that benefit most from native Vega performance. Typically these are video playback, home feed carousels, or heavy animations. Re-implement those pieces using React Native for Vega while keeping the rest of the app inside the WebView.
Incrementally expand native coverage
Once the native player is stable, migrate additional screens (settings, EPG, or details pages) to React Native. Each migrated screen can remove its Lightning counterpart until the WebView hosts only a minimal shell or is removed entirely. Shared business logic, networking, and analytics can remain in TypeScript modules used by both environments.
Gradual migration preserves your existing Lightning investment while unlocking Vega’s full potential (hardware acceleration, DRM compliance, system media controls, and voice integration) without a disruptive rewrite.

04. Optimizations & best practices
Running a web application inside a native container introduces unique performance characteristics. While the Vega WebView is optimized for hardware acceleration, achieving a “native-feel” requires specific architectural choices.
Offloading Logic with Web Workers
In a single-threaded JavaScript environment, heavy business logic can block the main thread, causing dropped frames in your animations—a critical issue for TV UIs where 60fps navigation is expected.
To mitigate this, move data parsing, telemetry processing, and state management into Web Workers. This ensures the main thread is dedicated solely to the Lightning (or Canvas) render loop and handling user input. By decoupling logic from rendering, you prevent the UI from stuttering during heavy operations like hydrating a large EPG or processing analytic batches.
Headless player strategy
One highly effective way to optimize video playback—whether pure Lightning JS or hybrid Vega—is to adopt a “Headless” player architecture. This involves structuring your application so that the playback controls are a sibling of the video player rather than a parent-child relationship.
In a traditional parent-child setup, the video player often triggers updates (like progress bars) that ripple through the component tree, causing the DOM or render tree to update frequently (e.g., every 250ms). This constant churn consumes valuable JavaScript cycles and can lead to UI jank.
By decoupling them as siblings:
- Shared State: The player updates a shared value state (or signals a state manager) independent of the UI hierarchy.
- Reactive UI: The UI controls react specifically to that state change without triggering a full tree re-render.
Performance: This separation ensures the high-frequency updates of video progress don’t bottleneck the main thread, keeping navigation snappy even during 4K playback.
Native error handling
A common pitfall in hybrid apps is the “white screen of death” or browser-style connection errors when the network fails. On a TV, users expect a seamless app experience, not a webpage failure.
Instead of relying on the WebView’s internal error rendering, use the onError event in the React Native wrapper. When a load error occurs:
- Hide the WebView immediately to prevent unsightly rendering artifacts.
- Mount a Native Fallback Component (built in React Native) that displays a branded error message and a “Retry” button.
Retry Logic: The native button can trigger a reload of the WebView source without restarting the entire application.
Measuring hybrid KPIs
Observability is tricky when your app spans two runtimes. You need to track performance metrics across both the Vega Native layer and the WebView.
- Vega Side (Native): Monitor Time to Interactive (TTI). This is the time from the app launch intent to the moment the WebView is mounted and focused.
- WebView Side (Web): Monitor App Load Time (assets loaded) and FPS during navigation.
Bridge Latency: If you rely heavily on injectJavaScript or the bridge for remote control events, measure the round-trip time (RTT) of these messages. High latency here leads to “input lag” perception by the user.
05. Conclusion
Migrating to a new operating system is often a balancing act between seizing new capabilities and managing engineering resources. Amazon Vega minimizes this friction by offering a first-class WebView container that treats your existing web assets as more than just a webpage.
By wrapping your Lightning or HTML5 application in a Vega WebView, you secure an immediate presence on the platform without discarding years of development. You gain access to essential native features—like voice control and hardware-accelerated graphics—while retaining the flexibility to modernize your codebase at your own pace.
Whether you choose to maintain a hybrid architecture or use this workflow as a bridge to a fully native React Native experience, the Vega App Framework provides the tools to deliver the high-performance, immersive experience that TV audiences demand. The path you choose depends on your starting point, but with Vega, both roads lead to a premium living-room experience.